Here’s something most homeowners never think about until it’s too late: every time it rains hard, the water pouring off your roof and driveway has to go somewhere. If your yard slopes the wrong way, that “somewhere” is often your basement, your neighbor’s lawn, or the storm drain — carrying fertilizer, oil, and debris straight into the nearest creek. A rain garden fixes that problem, and it does it while looking better than a plain patch of grass.
If you’ve heard the term but pictured something complicated and expensive, good news: a rain garden is one of the more forgiving weekend projects out there, and it scales to whatever budget you’re working with.
What Exactly Is a Rain Garden?
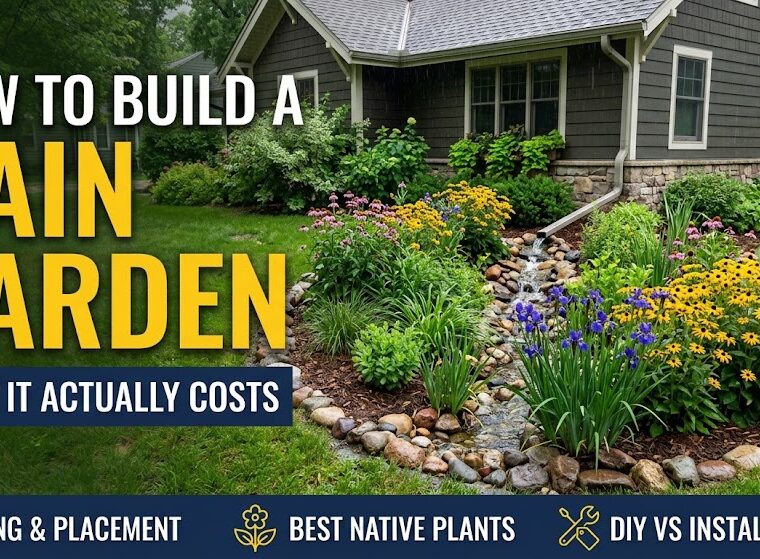
A rain garden is a shallow, bowl-shaped planting bed positioned to catch runoff from a roof, driveway, or downspout. Deep-rooted native plants and well-draining soil soak up the water over a day or two — it’s not a pond, and it shouldn’t hold standing water long enough to breed mosquitoes. Done right, it can absorb roughly 30% more water than the same patch of turf grass, while filtering out pollutants before they reach the storm system.
Cities from Portland to Minneapolis have leaned on rain gardens for stormwater management for years, which is part of why some municipalities offer rebates for homeowners who install one. It’s worth a quick search for your city plus “rain garden rebate” before you buy a single plant.
How Much Does a Rain Garden Cost?
This is the range that surprises people the most, because it’s genuinely a project you can size to your wallet:
- DIY, small (100 sq ft): $300–$700 — mostly soil amendments, mulch, and a few dozen native perennials
- DIY, medium (200–300 sq ft): $700–$1,800 depending on how much digging and soil replacement is needed
- Professionally installed: $10–$20 per square foot, so a 200 sq ft garden runs roughly $2,000–$4,000 once design, excavation, and plants are all included
The single biggest cost swing is soil. If your yard already drains reasonably well, you might only need to loosen the existing soil and mix in compost. If you’re dealing with heavy clay, you’ll likely need to excavate and replace it with a sand-compost-topsoil blend, and that’s where a DIY budget can jump fast.
Where to Put It (and Where Not To)
Placement makes or breaks this project, so don’t skip it:
- At least 10 feet from your house foundation — you’re redirecting water, not aiming it at your basement
- Away from septic drain fields and buried utility lines (call 811 before you dig, always)
- In a spot that naturally receives runoff, like the low point below a downspout extension
- Not directly over a slope steeper than about 12%, since water will just run through instead of soaking in
A percolation test tells you if the spot will actually work: dig a hole about a foot deep, fill it with water, and see how long it takes to drain. Under 24 hours is a good sign. If it’s still full the next day, that spot has drainage problems a rain garden alone won’t solve.
How to Build One Yourself (Step by Step)
- Test and mark the site. Run the percolation test above, then outline the shape with a hose or spray paint — kidney or crescent shapes handle runoff flow better than perfect circles.
- Dig the basin. Aim for 4–8 inches deep in the center, tapering up to the edges, with the deepest point positioned where water actually enters.
- Amend the soil. Mix in compost and coarse sand if your native soil is heavy clay, so water moves through instead of pooling.
- Build a berm on the downhill side. A low mounded edge keeps water contained in the basin instead of just flowing through.
- Plant in zones. Water-loving plants go in the center where it’s wettest, moisture-tolerant plants in the middle ring, and drought-tolerant plants on the outer, driest edge.
- Mulch heavily. A 2–3 inch layer of shredded hardwood mulch holds moisture, blocks weeds, and keeps soil from washing out before roots establish.
Best Plants for a Rain Garden
Native species are the whole point here — they’ve evolved deep root systems that handle wet-then-dry cycles without babysitting. Good picks across most US zones include swamp milkweed, blue flag iris, black-eyed Susan, switchgrass, and joe-pye weed. A local native plant nursery (not a big-box store) will know exactly what thrives in your specific soil and rainfall pattern, and it’s worth the extra trip.
Real Talk: Don’t Skip the First-Year Weeding
I’ll be honest about the part nobody mentions in the pretty before-and-after photos: the first year is scrappy. Native plants put their energy into roots before top growth, so your rain garden will look sparse and a little weedy for a few months while everything establishes. Resist the urge to rip it out and start over — by year two, the plants fill in and the weeding drops off dramatically. It’s a garden that gets easier over time, which is more than you can say for a lawn.
The One Thing Worth Doing Before You Dig
If you take away one tip from this: measure how much roof and driveway area is actually draining into your chosen spot before you size the garden. A good rule of thumb is sizing the basin to about 20–30% of the hard surface area feeding it. Undersize it and you’ll get overflow in a downpour; oversize it and you’re doing unnecessary digging. Get that number right first, and everything else about this project gets a lot more predictable.