Brezid is reader-supported. When you buy through links on our site, we may earn a commission. As an Amazon Associate I earn from qualifying purchases.
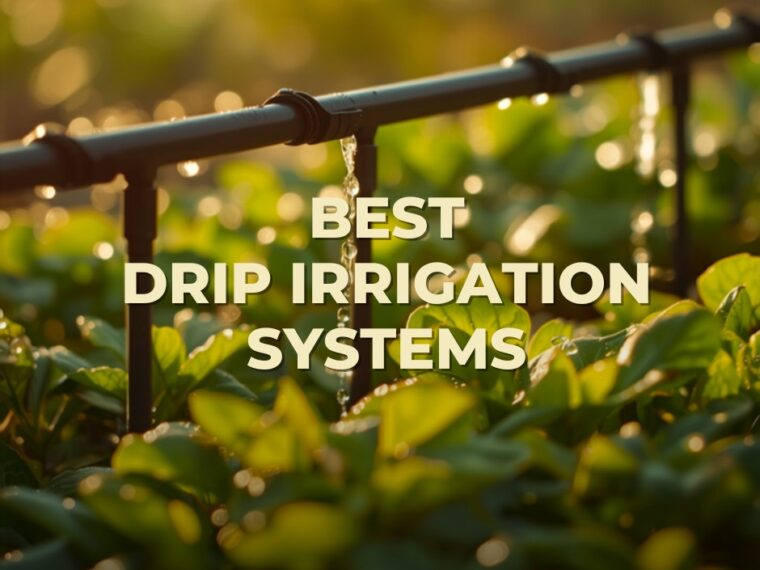
If you’ve ever dragged a hose across the yard in July heat, or watched half your sprinkler’s spray drift onto the driveway, you already know the problem: traditional watering is inefficient. Drip irrigation fixes that by delivering water straight to the roots, drop by drop, exactly where plants need it.
It sounds like a big upgrade, but a basic drip system is one of the most beginner-friendly projects in gardening — and one of the few that pays for itself within a season through lower water bills and healthier plants.
Which Brands to Look At
Rain Bird and Orbit are the two you’ll encounter most in home centres, and both make reliable starter kits with good parts availability — which matters more than it sounds, because you will eventually need a replacement emitter or connector. DIG Corporation and Raindrip are solid mid-range specialists. Claber is worth knowing for balcony and container setups.
Parts availability is the real buying criterion here. A cheap unbranded kit becomes useless the moment a fitting cracks and nothing you can buy fits it. Stick to a system whose components you can still find in three years.
Why Drip Beats Hand-Watering and Sprinklers
Sprinklers throw water into the air, where much of it evaporates before reaching soil, and more lands on leaves, mulch and pathways instead of roots. Hand-watering is targeted but wildly inconsistent — some plants get soaked, others get missed, and it becomes unmanageable once the garden grows past a few containers.
Drip solves both. Water is released slowly at soil level, encouraging deeper root growth, and you typically use 30–50% less water than a sprinkler covering the same area. Wet foliage also drives fungal disease, so keeping water off leaves reduces powdery mildew and blight noticeably.
What You Actually Need
Every drip system, however simple, needs these four things at the tap — and beginners routinely skip two of them:
- Backflow preventer — stops irrigation water siphoning back into your drinking supply. Often legally required.
- Filter — the part people skip and regret. Without one, sediment clogs emitters within weeks. It costs very little.
- Pressure regulator — drip runs at roughly 25 PSI; household supply is often 50–80. Without regulation you’ll blow fittings apart.
- Timer — turns the whole thing into set-and-forget. Worth every cent of the $20–30.
Sizing It to Your Garden
Containers and patio pots: A basic kit with 1/4-inch tubing and a handful of emitters. No tools beyond scissors, installed in under an hour.
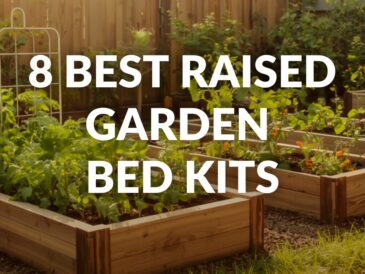
Raised beds: Emitter tubing with pre-spaced drippers (typically 6 or 12 inches apart) laid in rows, or a soaker-style line snaked through the bed. If you’re planning beds too, our guide to choosing a raised garden bed kit pairs directly with this.
Larger in-ground vegetable gardens: 1/2-inch mainline with 1/4-inch feeder lines, pressure-compensating emitters, and a multi-zone timer. Pressure-compensating emitters matter on any slope — without them, downhill plants get drenched while uphill ones stay dry.
Setting It Up
- Sketch your layout and mark each plant or row.
- Fit backflow preventer, filter, pressure regulator and timer at the spigot, in that order.
- Run the mainline along the garden’s length, then feeder tubes to individual plants.
- Insert emitters at each plant, matching flow rate to plant size.
- Flush the line before capping it — debris from cutting will otherwise lodge in your emitters immediately.
- Cap the end, run a full test cycle, and check for leaks and dry spots before walking away.
- Set the timer for early morning.
The Three Mistakes Everyone Makes
- Overcomplicating the first build. Start simple, run it a week, then adjust. Perfect designs on paper rarely survive contact with an actual garden.
- Skipping the filter. Clogged emitters within a month, guaranteed, if your water carries any sediment at all.
- Never changing the schedule. A system dialled in for July heat drowns everything in a cool, wet September. Adjust seasonally, or use a timer with a rain sensor.
Winter and Maintenance
In freezing climates, drain the system and bring the timer and pressure regulator indoors before the first hard frost — trapped water splits fittings. Flush the mainline at the start of each season, and check emitters for clogging every few weeks during peak growth.
Worth It?
For anyone with more than a handful of plants, yes — comfortably. It’s cheaper than an in-ground sprinkler system by an order of magnitude, needs no trenching, and suits garden beds far better. Many households run both: sprinklers for lawn, drip for beds.
Pair it with a rain barrel and much of your growing season watering becomes free — gravity-fed drip works fine from a raised barrel, though you’ll want low-pressure emitters designed for it.
Once it’s dialled in, drip irrigation is close to maintenance-free, and it’s one of those upgrades that quietly makes everything else in the garden easier to keep alive.
Kit contents and part compatibility vary between manufacturers — check that components match your chosen system before buying.